

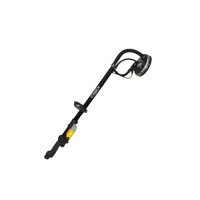
Drywall Sanders for Walls and Ceilings
Wall and ceiling sanding machines help prepare plaster, skim coat and plasterboard surfaces for painting or other finishes. A long-reach drywall sander, often called a giraffe sander, makes it easier to work across large walls and overhead areas than sanding by hand. In this CIMEX category you can compare drywall sanders, compatible sanding discs, dust-extraction sets and a surface-repair mill. Choose the machine and abrasive for the material, the stage of work and the finish you need.
Choose a sander for the surface and job
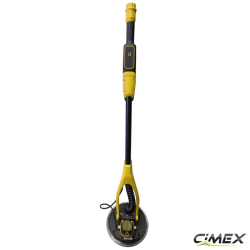
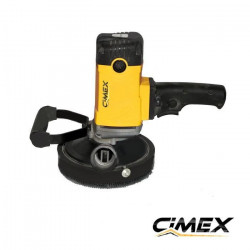
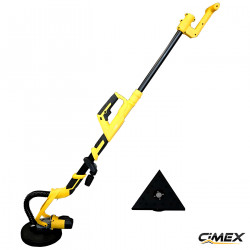
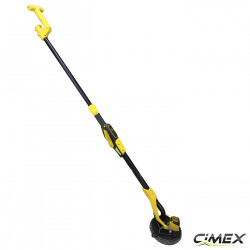
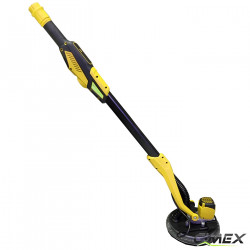
Round-head drywall sanders are suited to broad, relatively flat walls and ceilings. Many models use a 225 mm hook-and-loop sanding pad, but check the exact pad size and disc fitting on each product before ordering abrasives. A telescopic handle extends reach for high walls and ceilings, while a compact design can be easier to control in smaller rooms. A removable edge segment lets some round heads work closer to an adjoining surface; corners may still need a detail tool or careful hand sanding.
The CIMEX DWS220N offers interchangeable round and triangular heads, allowing more precise work near edges and in tighter spaces. The compact DWS225H has an 850 W motor, a 225 mm sanding pad and a removable side segment. The DWS225-B uses a brushless motor and a 360-degree work light. These are model-specific features, so compare the individual listings for reach, motor, head and included accessories. The SC150 repair mill serves a different purpose: removing or repairing surface layers before fine finishing, rather than replacing a drywall sander for the final pass.
Sand plasterboard joints and skim coat carefully
Start only when joint compound or skim coat is fully dry according to its manufacturer's instructions. Keep the sanding head flat and moving in smooth, overlapping passes. Excess pressure or staying in one spot can create hollows; on plasterboard, it can also damage the paper face. Begin with a suitable abrasive for the unevenness of the surface, then move to finer grits as the finish improves. Side lighting or an integrated LED can reveal ridges, scratches and small defects before painting. Check the surface by touch and light between passes rather than removing more material than necessary.
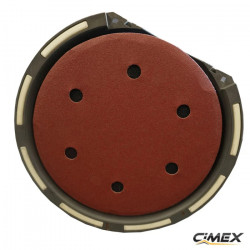
For heavy initial leveling, P60–P80 abrasives may be appropriate where the substrate and coating allow it. P100–P120 is often useful for general leveling, P150–P180 for fine smoothing and P220–P240 for a final light pass. These are starting points, not universal rules: the compound, desired paint finish and abrasive manufacturer's guidance matter. CIMEX offers sanding discs in several grades, including P120, P150, P180 and P240. Match the diameter, attachment and extraction-hole pattern to your particular sanding head.
Control dust with suitable extraction
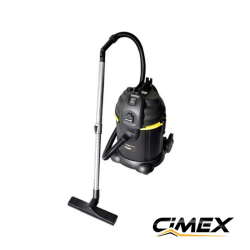
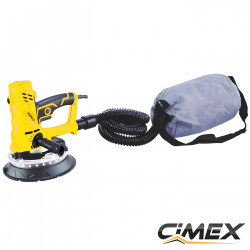
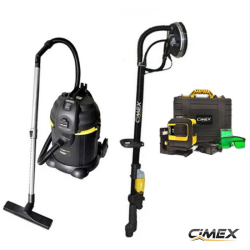
Connecting a compatible construction vacuum can capture much of the airborne sanding dust at the source and reduce cleanup. Some products are offered as sander-and-vacuum sets, including combinations with the CIMEX VAC30L. Check hose connections and the vacuum's suitability for the material being sanded. Adjust suction where the equipment allows it: excessive suction can pull the head firmly onto the wall and make it harder to move evenly. Extraction reduces dust but does not make sanding dust-free. Use appropriate respiratory and eye protection, and follow the vacuum and coating manufacturers' safety instructions.
Compare useful features before ordering
Consider how often you work overhead, the room size and the surfaces you finish. A telescopic shaft can reduce repeated ladder repositioning, while a lighter, compact machine may be easier to handle for shorter tasks. Variable speed helps adapt the sanding action to different coatings and abrasive grades. A built-in light helps show defects, and interchangeable heads or removable edge sections can reduce the amount of detail sanding. Check each listing for its actual specifications, supplied discs, carrying accessories and compatibility with extraction equipment; these differ between models and kits.
Use and maintain the machine safely
Inspect the sanding disc and pad before use, secure the abrasive correctly and keep the extraction path clear. Let the machine do the work without forcing it into the surface. Follow the product manual for speed settings, electrical safety and cleaning. After sanding, switch off and disconnect the tool before changing discs or cleaning its head. Empty and maintain the vacuum as its manufacturer directs. If you are unsure which head, abrasive or vacuum connection suits your project, compare the product specifications in this category before selecting a set.
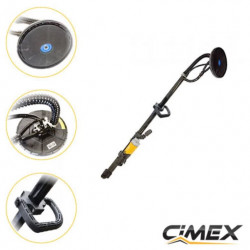
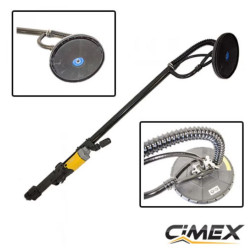
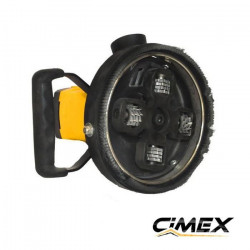

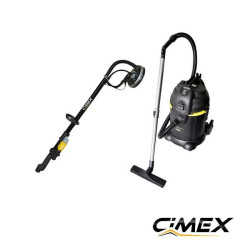
-250x250.png "Set – Wall Sander (Giraffe) + Vacuum Cleaner CIMEX")
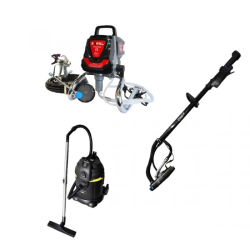
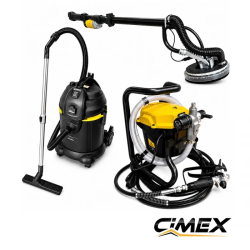
-250x250.png "PROMO PACKAGE! Wall and Ceiling Sander DWS220 + Vacuum Cleaner VAC30L + Airless Paint Sprayer STAHL Easy Paint S1")